Step 1: Here’s What You Need
This is a straight forward project provided you have access to a way to cut curved shapes in wood.
Here’s what you need:
- Wood
- Some stiff cardboard
- Someway to saw curved shapes in wood eg. bandsaw, jigsaw, coping saw etc
- Sand paper. Rough to fine grit (120gt, 240gt at least)
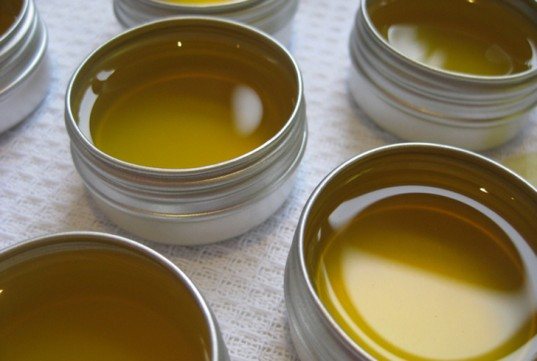
- Danish Oil
Step 2: See What You’re Working With
Started by removing the existing armrests to see what components I could use as a starting point.
I realised I could use the plastic base as a template to get the shape I needed.
Step 3: Create a Template
I traced a master template of the side profile onto cardboard, so that I could transfer it onto the wood.
Step 4: Cut Your Wood Down
The wood I had was too thin for the profile shape. I got around this by cutting strips from it and then turning them on their side to get more thickness.
Step 5: Trace and Cut
I traced the profile onto each of the strips.
And cut them out on the bandsaw.
Step 6: Glue Up
I then glued these back together so that I had a left and a right pair.
After the glue had dried I could smooth out the shape a bit more.
Step 7: (Rough) Smoothing
I used a hand plane going across the grain to get the shape roughly smooth. This may create a little bit of tearout at the edge of your pieces, so that’s why I did this step before cutting them to their final shape.
Step 8: Cut the Outer Shape
I then traced the outer shape onto the my pieces.
Using the bandsaw again to cut the shape.
Step 9: Final Shaping
I rounded the edges with the handplane.
Then sanded. a . lot. of. sanding. Moving up through the grits 120gt -> 240gt. I used mostly hand sanding because of the organic shape. With a power sander it’s very easy to accidentally put flat spots in your work, which will be noticeable at the end.
Step 10: Apply Finish
Finally I finished them with a couple of coats of Danish Oil. I like Danish oil because all you have to do is wipe it on, let it soak in a bit and then wipe off the excess – much less likely to get runs on a curved surface. The downside is it takes 4-8 hours to dry between coats :/
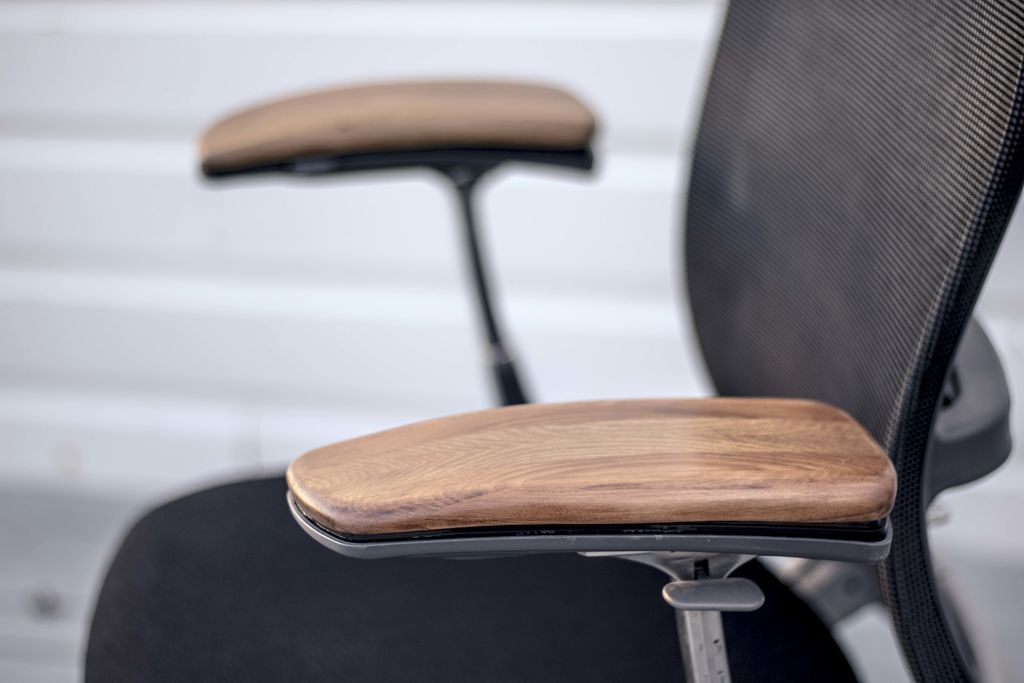
Step 11: Finished!
I’m happy with how they came out.
But mostly just glad they’re not dropping gross bits of foam and plastic all over my floor.


